


"Free Mini Bunny & Ducky Easter Basket Pattern©"
By Connie Hughes Designs©
These cute little baskets can be made very quickly...and that's
what I love about them...I know that most people don't
have time to make things that are going to take weeks to finish...
That is why I try and create things that can be made in a few hours or
in a couple of days...these are perfect for gift giving this Easter!!

The above pictured wheelbarrow is available as part of the
The Pippa the Purple Bunny Doll Pattern© Here's the link:
Fill them with Jelly Beans or little chocolates!


Give one to someone special this year!


The Bunny is 7 inches (with counting the ears) The Duck is 9 inches
Difficulty Level: Easy
Hook used in pattern:
F, D
Stitches & Abbreviations used in pattern:
sc-single crochet
sk-skip
ch-chain
wk-work
FLO-Front Loops Only
dec-decrease
slst-slip stitch
st-stitch
sts-stitches
FO-fasten off
Yarns used in pattern:
White I Love This Yarn
Lippy Rose Bonbon Loops & Threads
Flame Red Heart Yarn
Bright Yellow Red Heart Yarn
Other Materials used in pattern:
1 Large Sheet of Plastic Canvas
9mm Safety Eyes
Black Embroidery Floss
Sewing Needle & Thread
1 Sheet of Light Pink Felt
2 Chenille Stems
Poly Fiber Fill
Holiday Ribbon
To make the Bunny/Duck Basket: with White/Bright Yellow Yarn & F Hook

ch2
Row 1. 6sc in the 2nd st from the hook.
Row 2. 2sc in each st-12sts.
Row 3. 1sc, 2sc in next st-18sts.
Row 4. 1sc in 2, 2sc in the next st-24sts.
Row 5. 1sc in 3, 2sc in the next st-30sts.
Row 6. 1sc in 4, 2sc in the next st-36sts.
Row 7. 1sc in 5, 2sc in the next st-42sts.
Row 8. 1sc in 6, 2sc in the next st-48sts.
Row 9. 1sc in the FLO in each st-48sts.
Row 10. 1sc in each st-48sts.
Rows 11-19. 1sc in each st-48sts.
Row 20. 1sc in the FLO in each st-48sts.
Row 21. 1sc in each st-48sts.
Rows 22-28. repeat row 21 and FO.
To make the Bottom Piece: with White/Bright Yellow Yarn & F Hook
Repeat rows 1-7 and FO.
Cut out plastic canvas to go along the inside edges, fold the sides down sew to secure. Cut out another piece of plastic canvas to place in the bottom. Sew the bottom piece over the plastic.


To make the Lid: with White/Bright Yellow Yarn & F Hook (make 2 for each basket)

Repeat rows 1-7 of the bottom piece above.
Row 8. 1sc in 6, 2sc in the next st, FO the 1st one-48sts.
To make the Trim: with a C Hook
Put 1 round piece of plastic canvas between the 2 pieces. Then with the 2 pieces together with Flame or Lippy Rose Bonbon Yarn.
wk 1sc all the way around, join & ch4, sk 1st, wk 1slst in the next st, repeat all the way around and FO,
To make the Bunny/Duck Head: with White/Bright Yellow Yarn & F Hook
Repeat rows 1-7 of the basket.
Row 8. 1sc in each st-42sts.
Rows 9-17. repeat row 8
Row 18. 1sc in 5, dec1sc-36sts.
Row 19. 1sc in 4, dec1sc-30sts.
Row 20. 1sc in 3, dec1sc-24sts.
Row 21. 1sc in 2, dec1sc-18sts.
Put eyes in place for the bunny in row 10/put eyes in place for the duck in row 14. Stuff head and sew on top of the lid after all the facial features are sewed on.
Row 22. 1sc in 18sts in the FLO.
Row 23-24
Row 25. 1sc in 18sts and FO.
Cheeks for the Bunny: with White Yarn & F Hook (make 2)

Ch2
Row 1. wk 5sc in the 2nd st from the hook.
Row 2. 2sc in each st-15sts.
Row 3. 1sc, 2sc in the next st-15sts.
Rows 4-5. 1sc in each st-15sts.
Stuff Lightly
Row 6. dec1sc until closed and FO.
Sew each cheek to the front of the face slightly under the eyes. I added a small pink pom-pom with a little dab of hot glue to secure. With a tapestry needle and black embroidery floss make eyebrows.
The Bunny Ears for the Bunny: with White Yarn & D Hook (make 2)
Ch2
Row 1. 4sc in the 2nd st from the hook.
Row 2. 2sc in each st-8sts.
Row 3. 1sc in 8sts
Row 4. 1sc, 2sc in the next st-12sts.
Rows 5-6. 1sc in 12sts
Row 7. 1sc in 2, 2sc in the next st-16sts.
Row 8. 1sc in 16sts
Repeat until ear measures about 3"inches and FO.
Cut out a piece of light pink felt and sew it to the center of each ear. Place a chenille stem inside and sew on to the head.

To make the Feet for the Bunny: with White Yarn & F Hook (make 2)
Ch2
Row 1. 6sc in the 2nd st from the hook.
Row 2. 2sc in each st-12sts.
Row 3. 1sc, 2sc in next st-18sts.
Row 4. 1sc in 2, 2sc in the next st-24sts.
Rows 5-9. 1sc in 24sts
Row 10. 1sc in 2, dec1sc-18sts.
Rows 11-12. 1sc in 18sts
Row 13. 1sc, dec1sc-12sts.
Row 14. 1sc in 12sts
Stuff lightly
Row 15. dec1sc until closed and FO.

Sew one foot on each side of the basket. Make a small pom-pom and sew that to the back side. It will help the basket sit up.

To make Ducky


To make the Beak: with Flame Yarn & F Hook
Ch11
Row 1. 1sc in 10sts, ch1 & turn.
Rows 2-4. repeat row 1
Row 5. 1sc in the FLO in 10sts, ch1 & turn.
Row 6. 1sc in 10, ch1 & turn.
Rows 7-9. repeat row 6
Row 10. dec1sc, 1sc in 6, dec1sc, ch1, wk 1sc in 6, dec1sc, 1sc in 6, dec1sc, 1sc in 9sts and FO.
Sew beak under the eyes.

Ch5
Row 1. 1sc in 4sts, ch1 & turn.
Row 2. repeat row 1
Row 3. 2sc, 1sc in 2sts, 2sc, ch1 & turn-6sts.
Row 4. 1sc in 6sts, ch1 & turn.
Row 5. 2sc, 1sc in 4, 2sc, ch1 & turn-8sts.
Row 6. 1sc in 8sts, ch1 & turn.
Row 7. 2sc, 1sc in 6sts, 2sc, ch1 & turn-10sts.
Row 8. 1sc in 4, 2sc in 2sts, 1sc in 4, ch1 & turn-12sts.
Row 9. 1hdc in 2, 1sc in 3, 2hdc in 2, 1sc in 3, 1hdc in 2 and FO the 1st foot.
Put 2 feet together by working 1sc all the way around entire foot, ch1 when going around the corners and FO.
To make the Duck Legs: with Flame Yarn & F Hook (make 2)
Ch12 & join, ch1
Row 1. 1sc in 12sts
Rows 2-7. repeat row 1 and FO.
Sew legs onto the top of each foot, stuff firmly and sew the legs to the inside of the basket including to the plastic canvas.
To make the Wings: with Bright Yellow Yarn & F Hook (make 2)

Ch2
Row 1. 2sc in the 2nd st from the hook.
Row 2. 1sc in 2, ch1 & turn.
Row 3. 2sc, 2sc, ch1 & turn.
Row 4. 1sc in 4, ch1 & turn.
Row 5. 2sc, 1sc in 2, 2sc, ch1 & turn.
Row 6. 1sc in 6, ch1 & turn.
Row 7. 2sc, 1sc in 4, 2sc, ch1 & turn.
Row 8. 1sc in 8, ch1 & turn.
Row 9. dec1sc, 1sc in 4, dec1sc, ch1 & turn.
Row 10. dec1sc, 2sc, dec1sc, ch1, wk 1sc in each st around and FO.
Sew 1 wing on each side.
To make the Duck's Tail: with Bright Yellow & F Hook
Ch2
Row 1. wk 4sc in the 2nd st from the hook, ch1 & turn.
Row 2. 2sc, 2sc in the next st, ch1 & turn.
Row 3. 1sc in 4sts, ch1 & turn.
Row 4. 2sc, 1sc in 2, 2sc, ch1 & turn.
Row 5. 1sc in 6sts, ch1 & turn.
Row 6. 2sc, 1sc in 4, 2sc, ch1 & turn.
Row 7. 1sc in 8, ch1 & turn.
Row 8. 1sc in 8sts, ch1 & turn.
Row 9. 1sc in 8, ch1, wk 1sc around tail and FO.
Sew to the back side of basket.

This Completes the Free Mini Bunny & Ducky Easter Basket Pattern©
Connie’s Spot© & Connie Hughes Designs©
Connie Hughes Owner/Designer
The Free Mini Bunny & Ducky Easter Basket Pattern© is for personal use.
Characters, Photos, Patterns & Designs
Are Copyright Protected All Rights Reserved.
Happy Crocheting!!
Connie
Thanks for Supporting Connie's Spot©!!
Here are a Few More of Connie's Spot© Patterns Available!
Zoe Girl© and Jelly Bean Bunny© Crochet Doll Pattern©
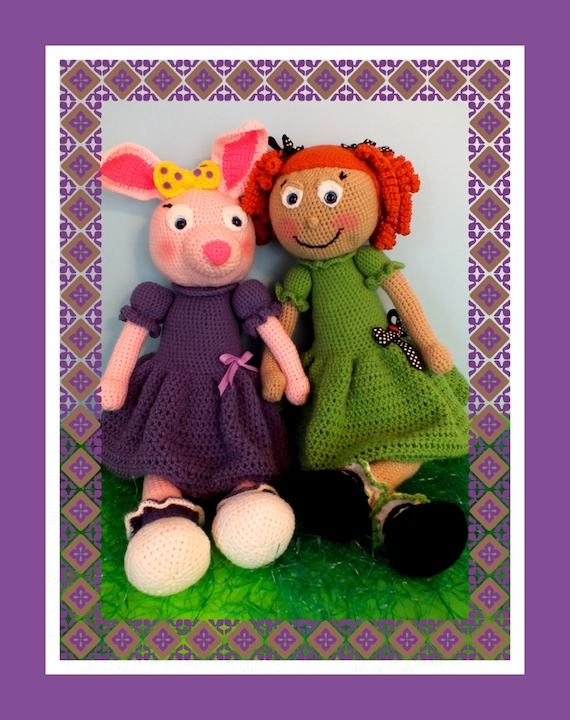
Available now for only $2.99 just click the buy now button below:

Blossom & Blue Bunny Dolls Pattern©
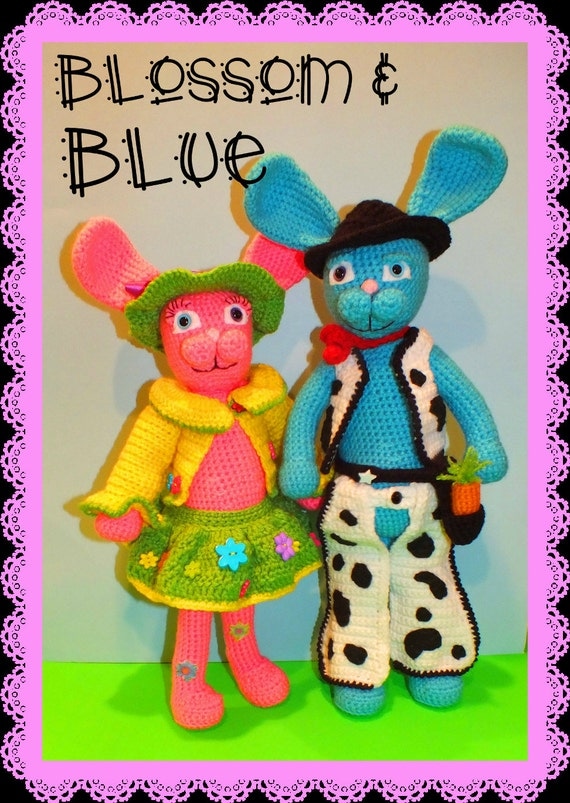
- Available now for only $2.99 just click the buy now button below:
Pippa the Purple Bunny Doll Pattern©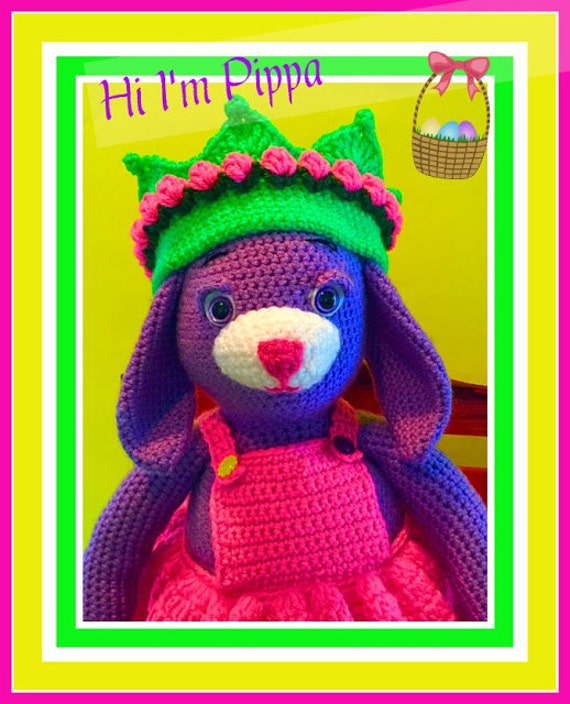
Available now for only $2.99 just click the buy now button below:
Available now for only $2.99 just click the buy now button below:
Connie's Portable Purple Doll House Pattern©

Iucludes the Halloween Haunted House©
and Christmas Gingerbread House Patterns©
and Christmas Gingerbread House Patterns©
This Pattern Package is for All 3 Houses and Accessories!
All for only $5.00 just click the buy now button below:
All for only $5.00 just click the buy now button below:


