Free Daisy Pillow Pattern©
By Connie Hughes Designs©
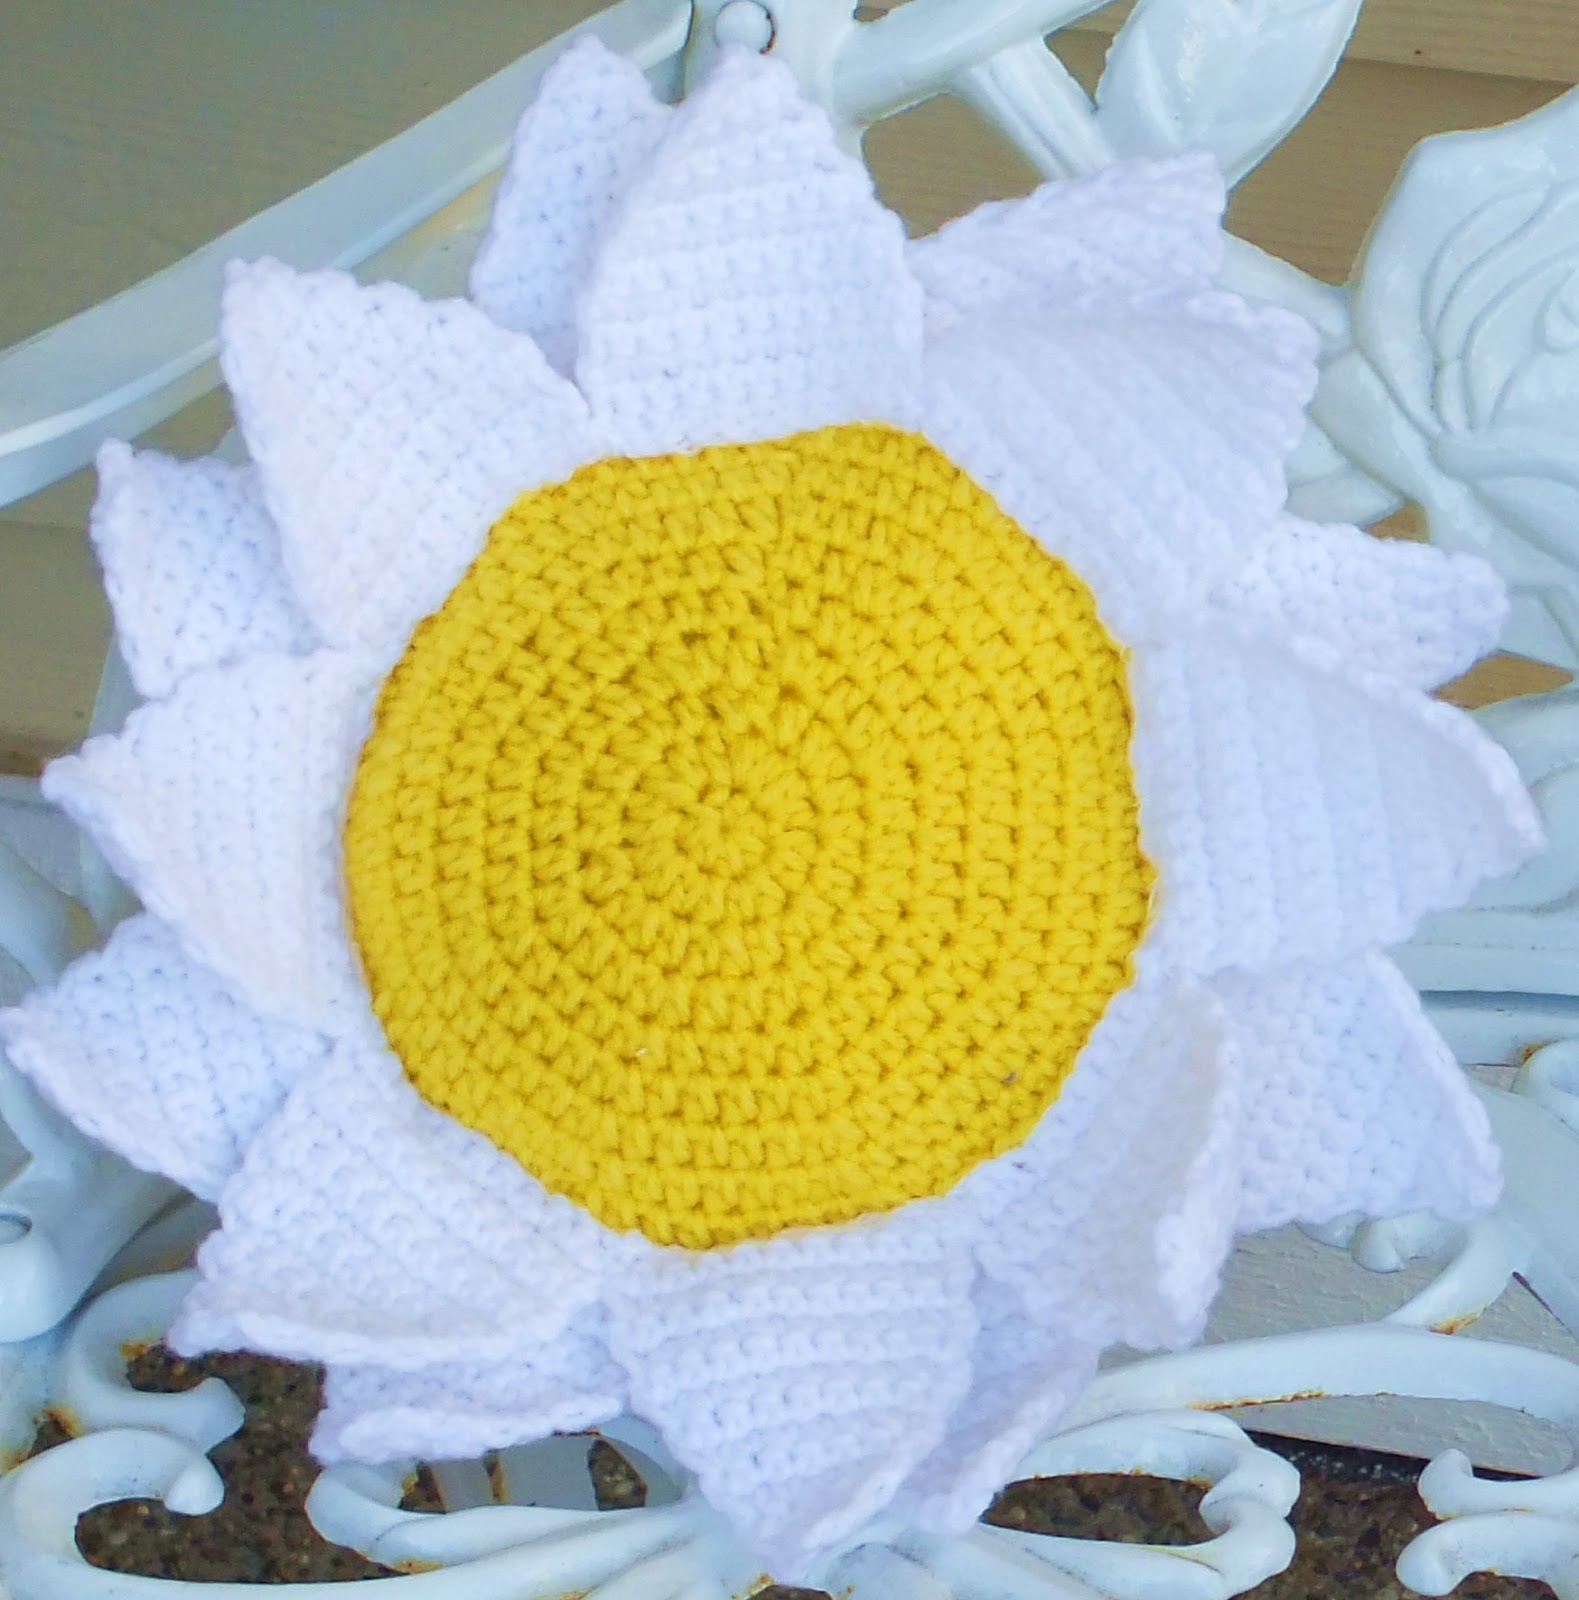
This is one of the summer porch pillows I made.
Materials needed to make pillow
1 sm. roll of Red Heart Bright Yellow
1 sm. roll of Red Heart White
G Hook
Fiber Fill
Abbreviations used in this pattern
Ch-Chain
wk-work
hdc-half double crochet
sl-slip
st-stitch
sts-stitches
blo-back loops only
With Bright Yellow (Make 2)
Ch 4, join to (the first ch st you made) with a sl st
Row1
Ch 3, wk 11hdc into the ring, join with a sl st
Row 2
Ch 2, wk 2 hdc in each st around, join with a sl st
Row3
Ch 2, wk 1 hdc in the first st, wk 2 hdc in the next st, all the way around, join with a sl st
Row 4
Ch 2, 1 hdc in the next 2 sts. 2 hdc in the next, repeat all the way around, join with a sl st
Row 5
1 hdc in the next 3 sts, 2 hdc in the next, repeat all the way around
join with a sl st
Row 6
Ch 2, 1 hdc in the next 4 sts, 2 hdc in the next repeat all the way around, join with a sl st, fasten off here if you've already done row 7 on the other circle.
Do row 7 to only 1 circle
Row 7
Ch 2, wk 1 hdc in blo all the way around, join with a sl st
Working in the back loops creates a line and it helps when sewing the petals on...it gives you something to follow and keeps the petals nice and straight.
Row 8
Ch 2, 1 hdc in each st around, repeat row 8, 4 more times, then turn both pieces inside out and crochet them together, leaving a space big enough for you to stuff. Be careful not to over stuff...you don't want to much of the stuffing to show through.
You don't have to crochet 2 pieces together...you can slowly begin to decrease your stitches and close it up that way.
I did it with two circles because it's easier for beginners.
To make the petals (make 16 petals)
With white yarn
Ch 3
Row 1
1 sc in the 2 ch spaces, ch 1 & turn-2 sts
Row 2
Ch 1, wk 2 sc in each st, ch 1 , turn-4 sts
Row 3
Sc in each sc st, ch 1 & turn-4 sts
Row 4
Sc 2 sts in the 1st st, 1 sc in the next 2, 2 sc in the last st, ch 1 & turn-6 sts
Row 5
Wk 1 sc in each sc st, Ch 1 & turn-6 sts
Row 6
Sc 2 sts in the 1st st, 1 sc in the next 4 sts, 2 sc in the last st, ch 1 & turn-8 sts
Row 7
1 sc in each st, ch 1 & turn-8 sts
Row 8
Wk 2 sc in the 1 st st, 1 sc in next 6 sts, 2 sc in the last st, ch 1 & turn-10 sts
Row 9
1 sc in each st, ch 1 & turn-10 sts
Repeat row 9, 5 more times, fasten off leaving a long tail for sewing.
Or you can use thread...when sewing the back petals on place them kind of in the middle of the two front petals, so they will be seen.
This is a Free Pattern for Personal use.
You may sell the products you make but
Do Not Sell this Pattern.
When posting your products made from
this pattern please
reference Connie's Spot© as the pattern
designer.
In addition, I would love to see your
completed work.
Thank You and Happy
Crocheting!!
Connie
Read more at http://spotconnie.blogspot.com/#hibgfeHL2wWsZ4H7.99
This is a Free Pattern for Personal use.
You may sell the products you make but
Do Not Sell this Pattern.
When posting your products made from
this pattern please
reference Connie's Spot© as the pattern
designer.
In addition, I would love to see your
completed work.
Thank You and Happy
Crocheting!!
Connie
Read
more at
http://spotconnie.blogspot.com/#Y882UII3qrpjzzGh.99
Thanks for Supporting Connie's Spot© Sponsors!


.JPG)


